Page 2 of 2
Re: Get to the Choppah!
Posted: 2011-05-01 04:45pm
by sotoolslinger
Re: Get to the Choppah!
Posted: 2011-05-01 10:10pm
by Bob the Gunslinger
What kind of putty and what kind of sand paper? Could you give me an idea of what you look for when you sand and why? My kitbashing is nowhere near as smooth as yours and I would like to know how you get that nice finish without sanding away all the details.
Re: Get to the Choppah!
Posted: 2011-05-02 02:15pm
by sotoolslinger
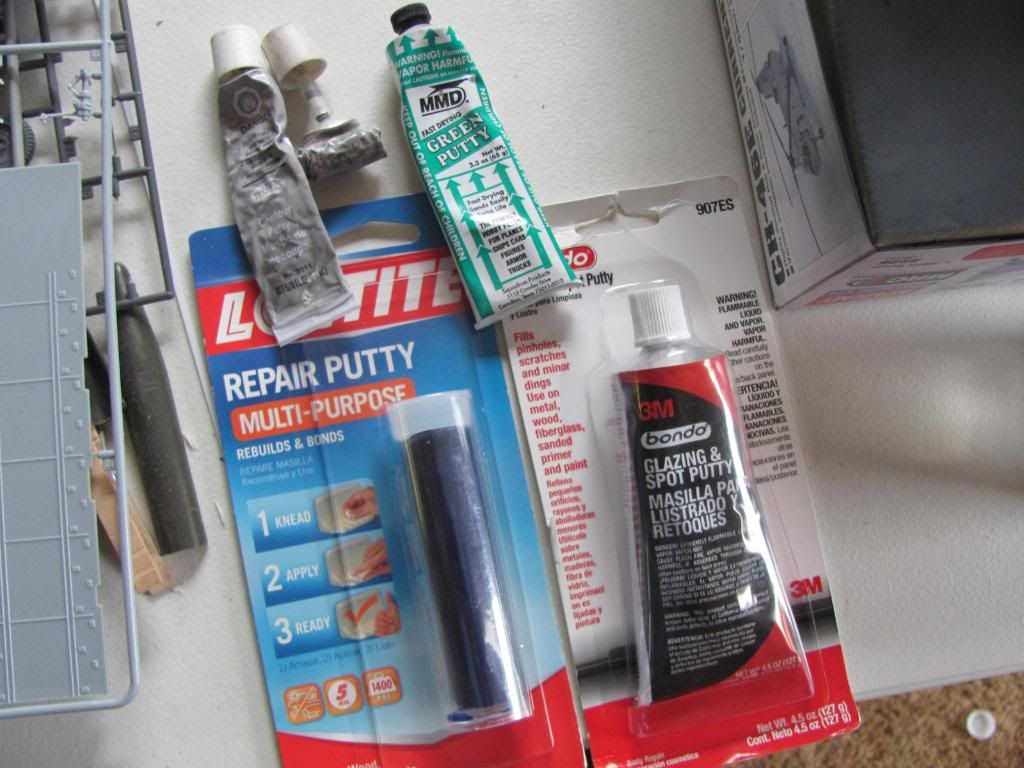
I use several different kinds of putty . For large areas and sculpting I use two part epoxy putty. Specifically I use Loctite repair putty as you can smooth it with water.
For smaller areas I use Bondo glazing and spot putty. Both of these can be bought at hardware stores, Wal mart, or auto parts stores.
From hobby shops I get both Testors white putty and Squadron green. Each of these has different size openings and the Testors is small enough to to use neat plastic glue tips to get really small crevices.
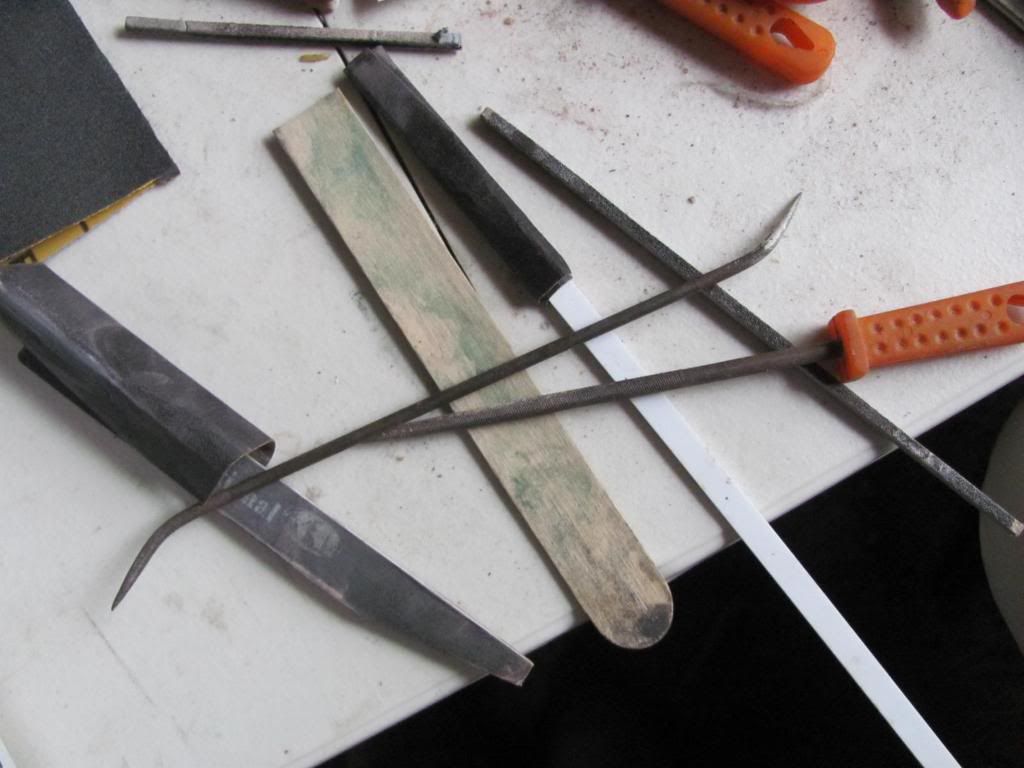
For sanding I use wet or dry sandpaper cut to shape and wrapped around various shaped objects to get into different contours.
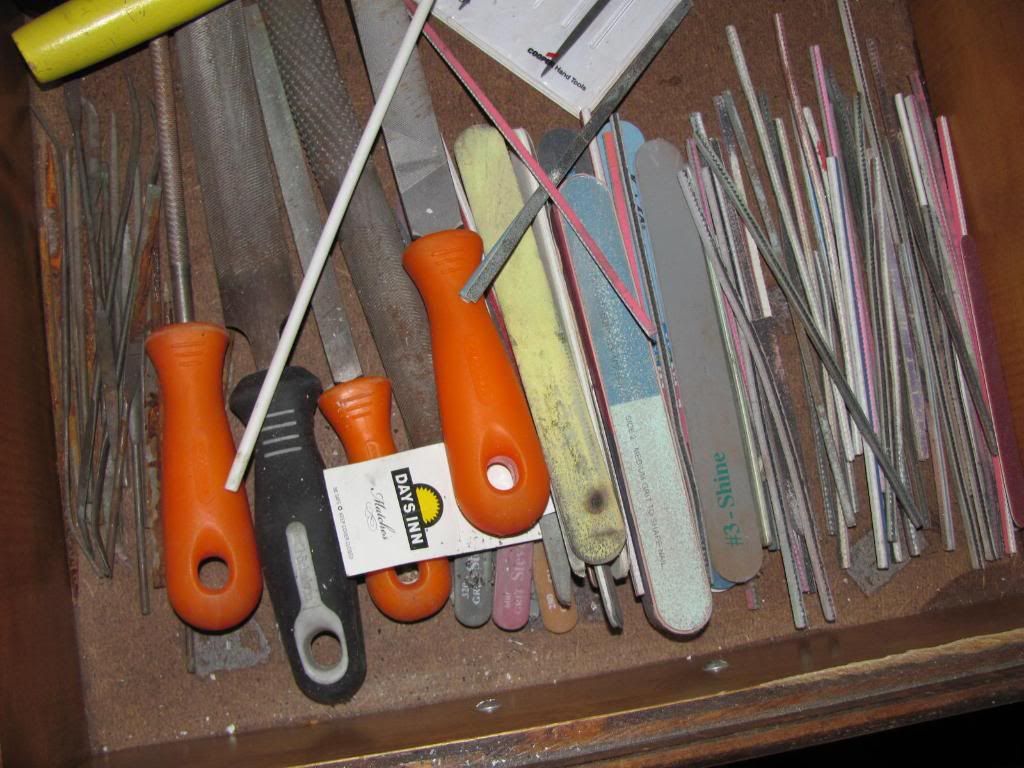
I also have pretty much every shaped file evar.
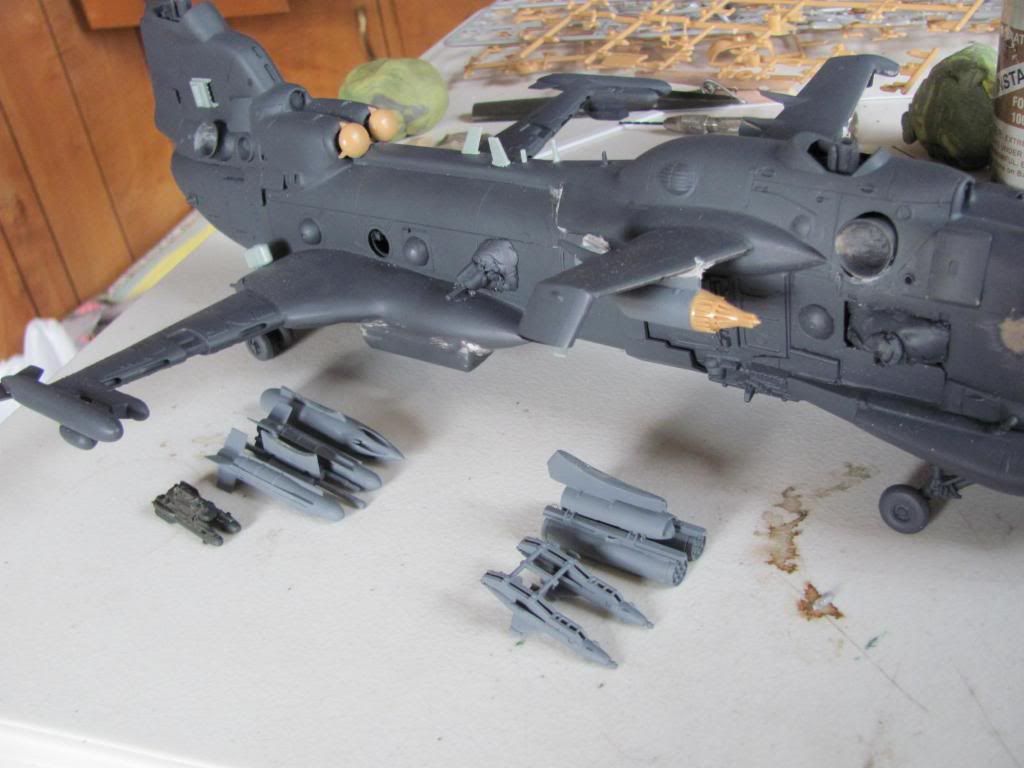
Re: Get to the Choppah!
Posted: 2011-05-02 02:31pm
by sotoolslinger
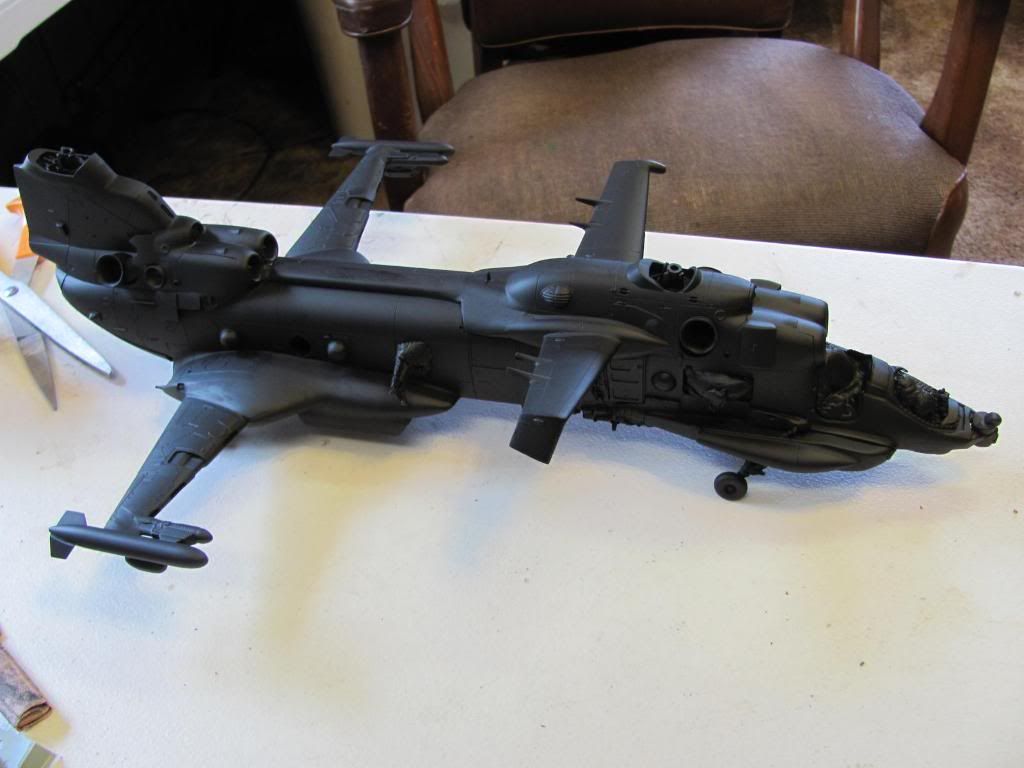
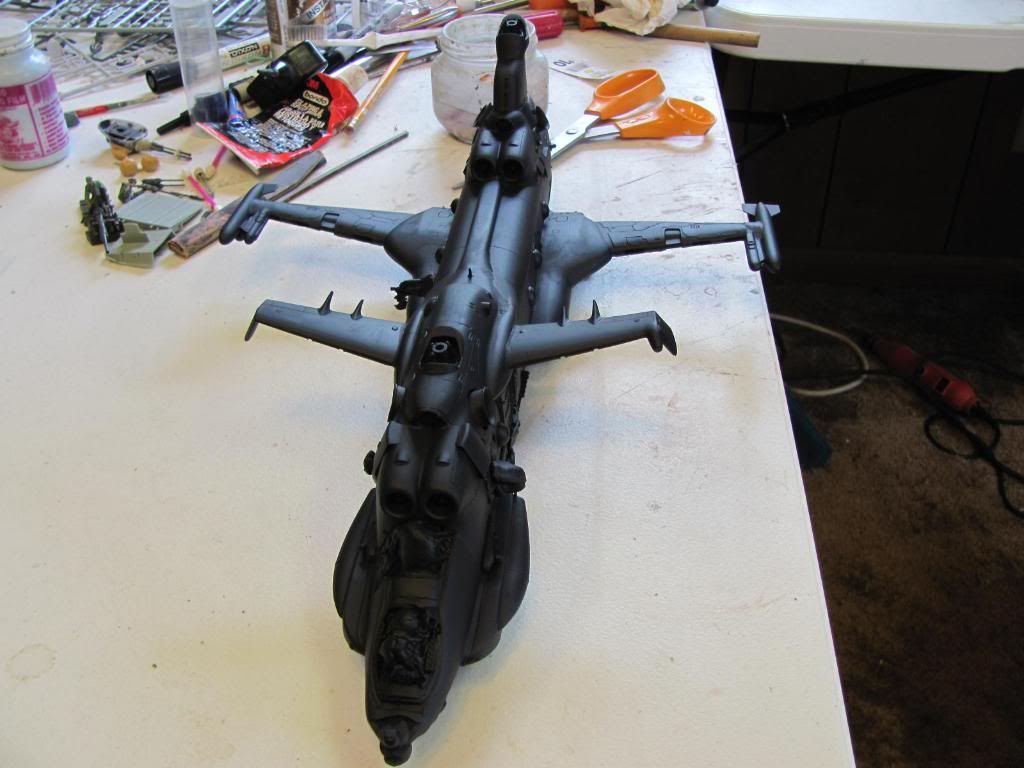
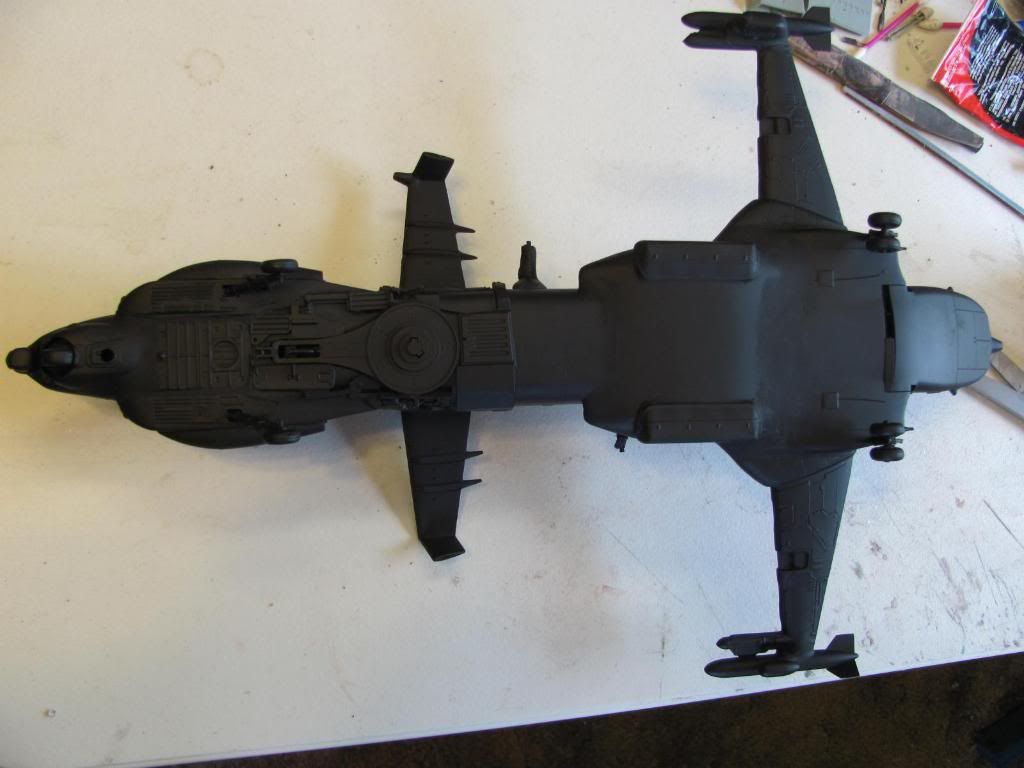
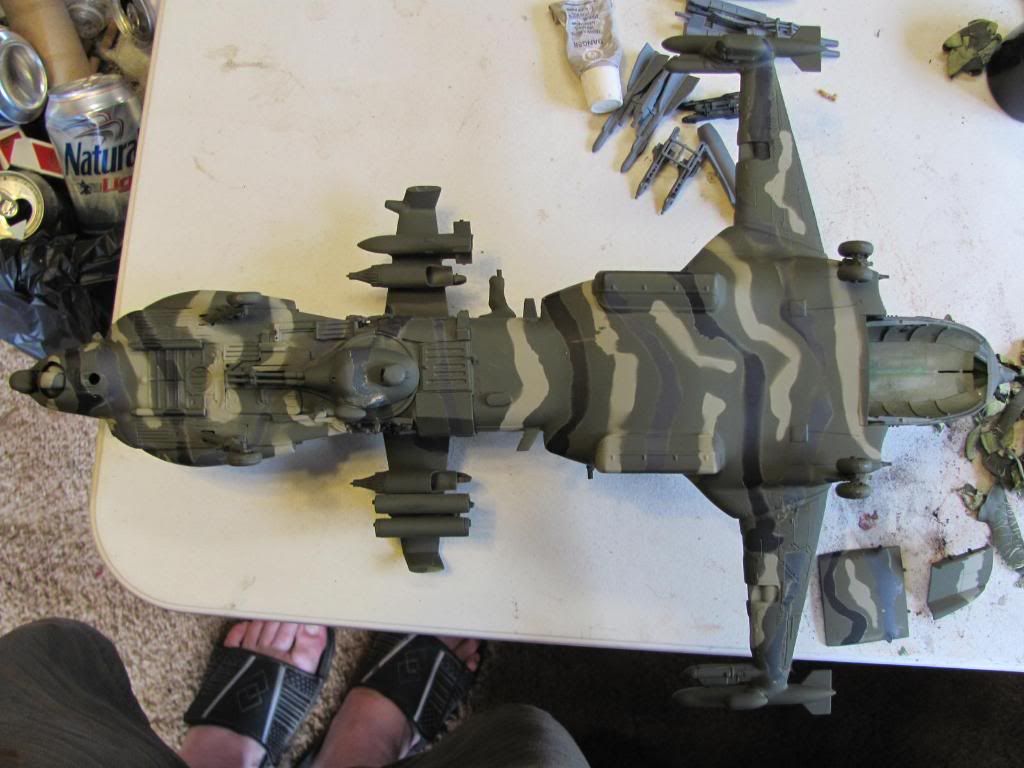
Here is stuff
Puttys
Files and such
Sanding shapes and sticks
Here are closeups of areas on the model that need more work
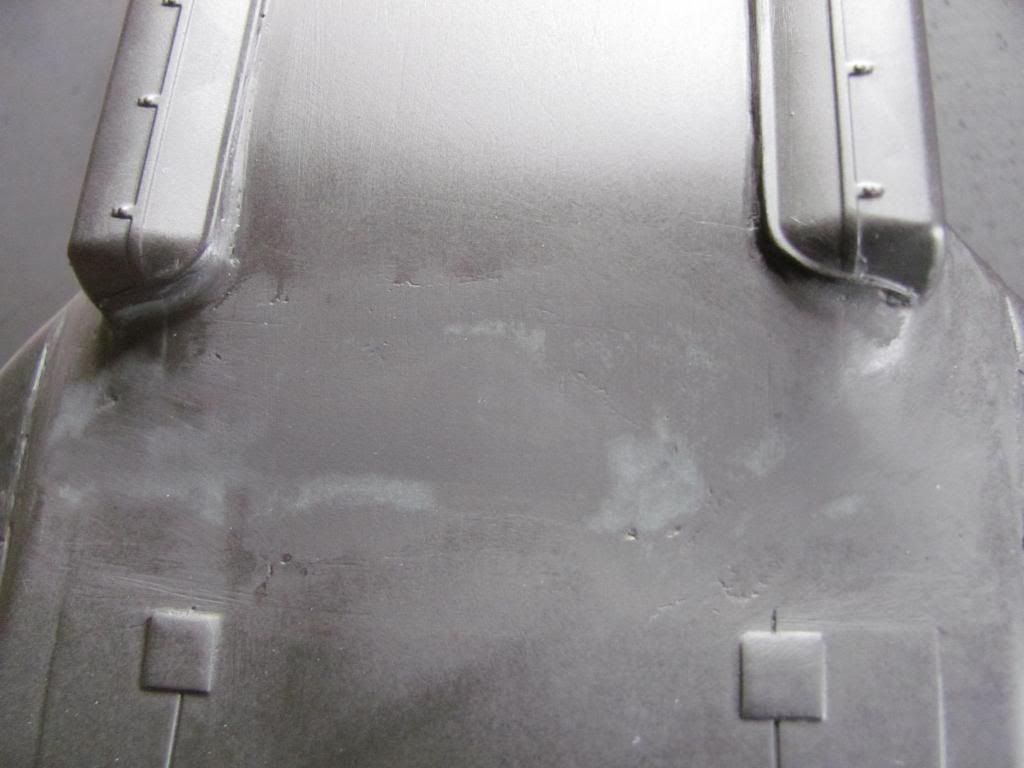
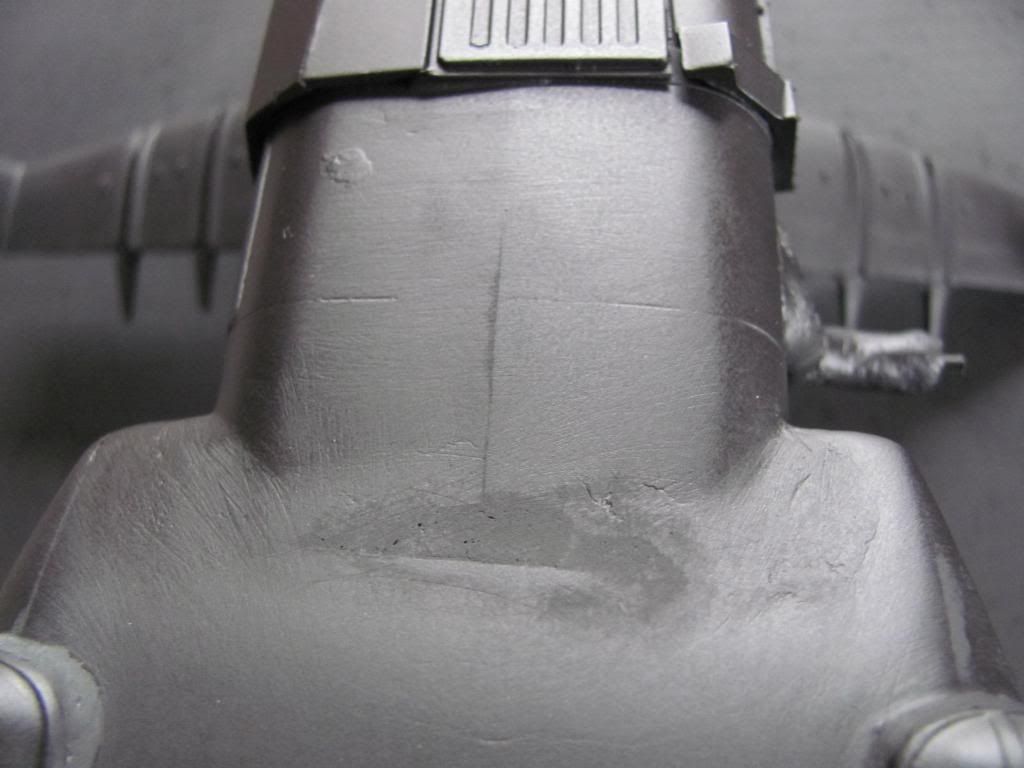
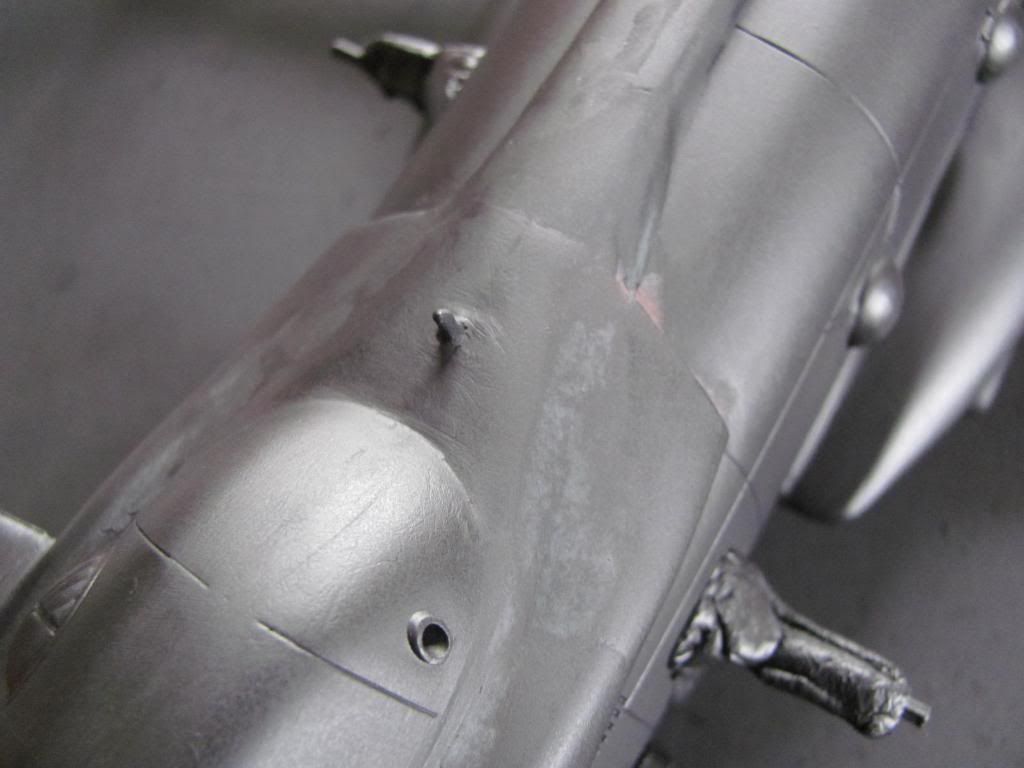
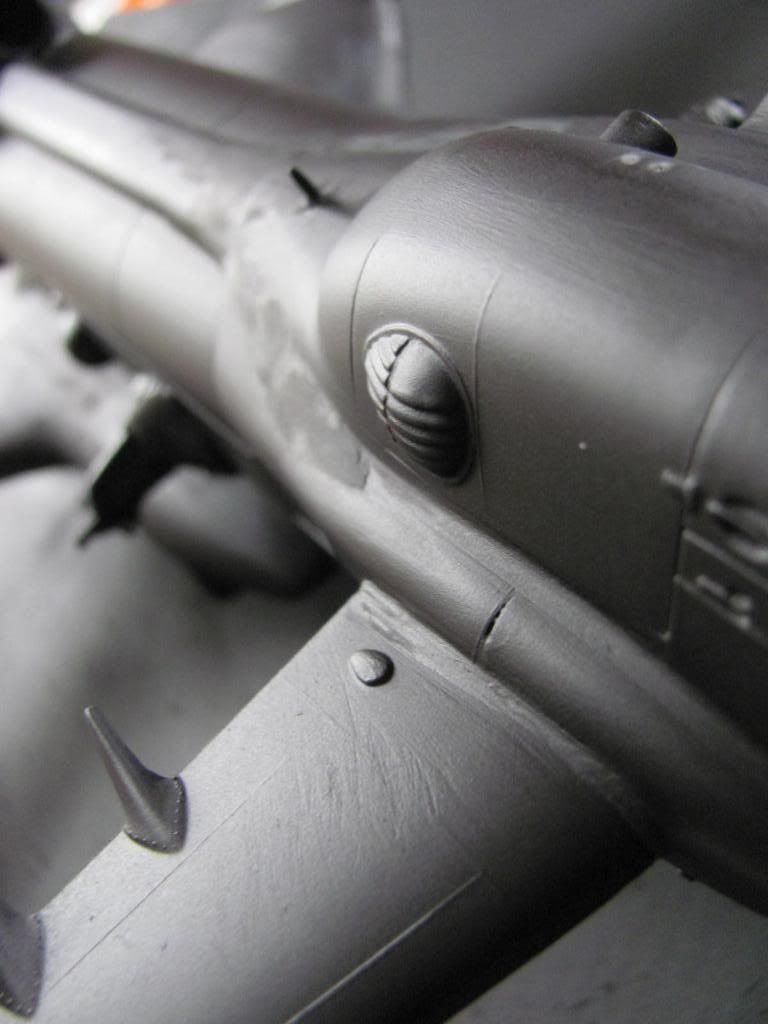
As you can see it is now primered. I will resand with 320 grit paper (wet, always wet) and then re prime.
Primer is very important as it will show you flaws you can not see without a uniform color.
I use auto primer as it gives a better finish than hobby stuff.
I will sand and take more closeups then prime and take the same pics over so you can see the process.
Re: Get to the Choppah!
Posted: 2011-05-05 03:57pm
by sotoolslinger
In an effort to not burn too much bandwidth here is a link to the bucket so y'all can see the progress
http://s253.photobucket.com/albums/hh50 ... r/Choppah/
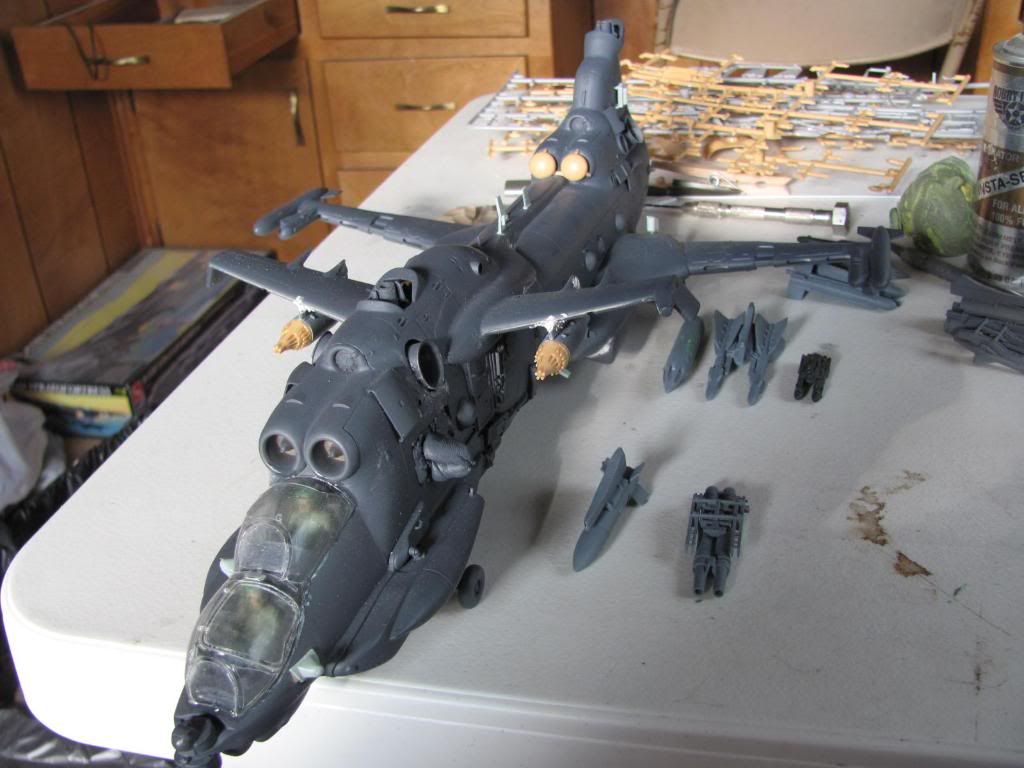
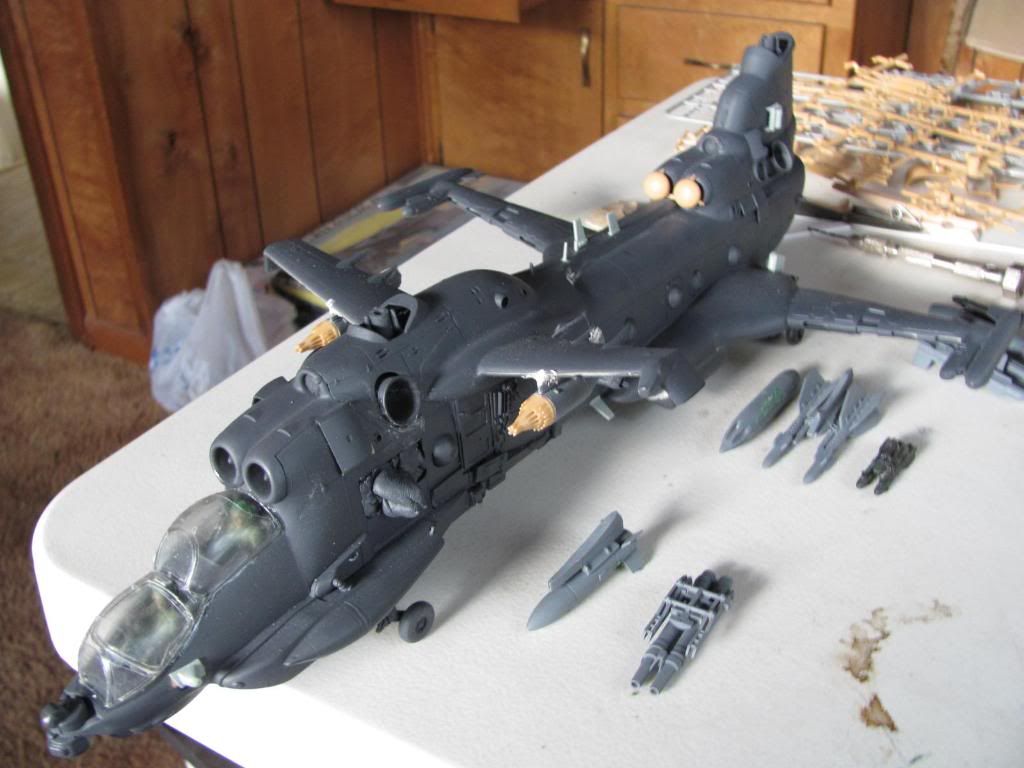
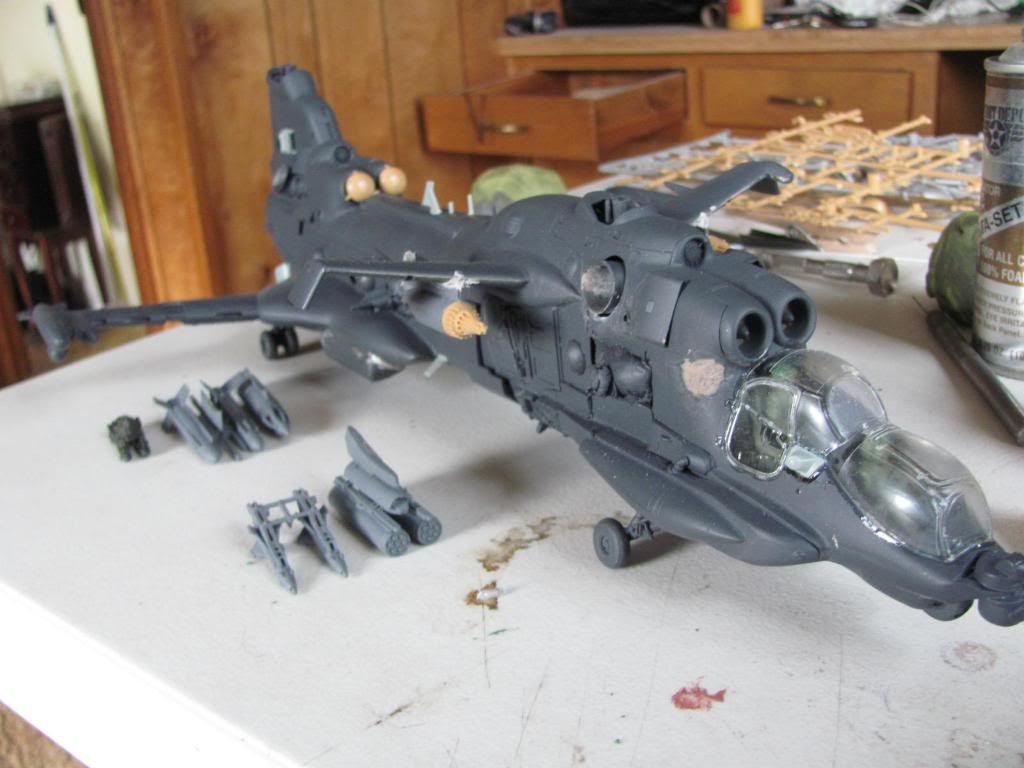
Re: Get to the Choppah!
Posted: 2011-05-15 07:42pm
by sotoolslinger
Re: Get to the Choppah!
Posted: 2011-05-15 07:52pm
by Starglider
Just wanted to say, this is coming together really well and I am looking forward to seeing the end product.

Re: Get to the Choppah!
Posted: 2011-05-16 09:26am
by sotoolslinger
Thanks .She should be finished this week as I am getting ready for a show.
Re: Get to the Choppah!
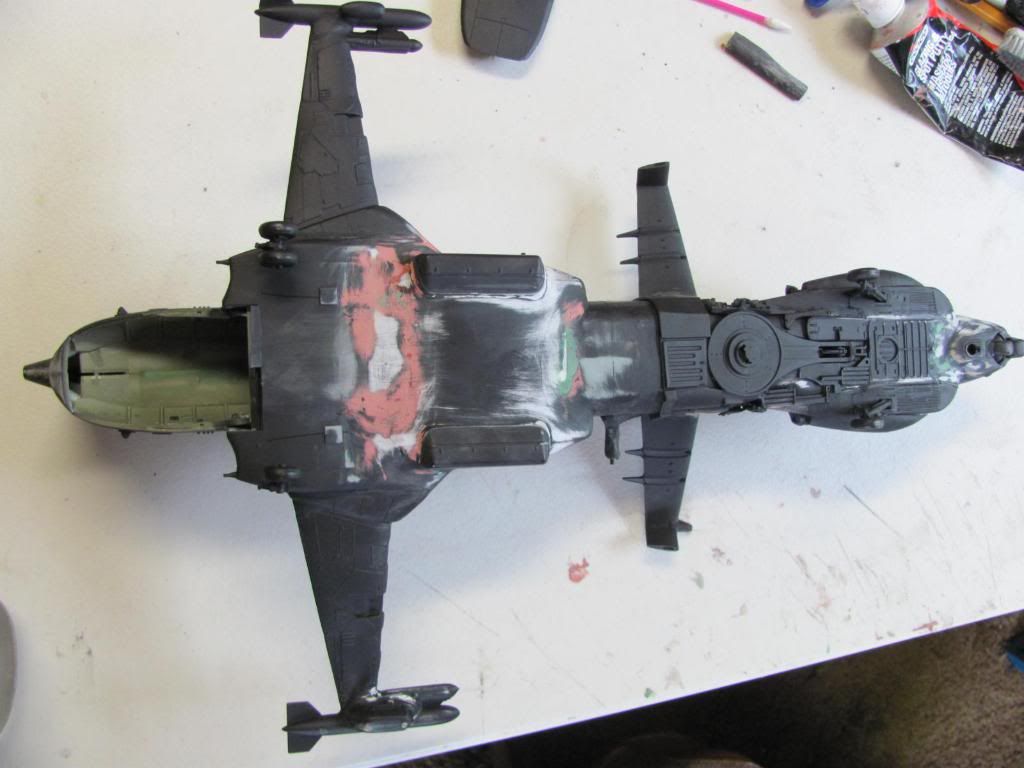
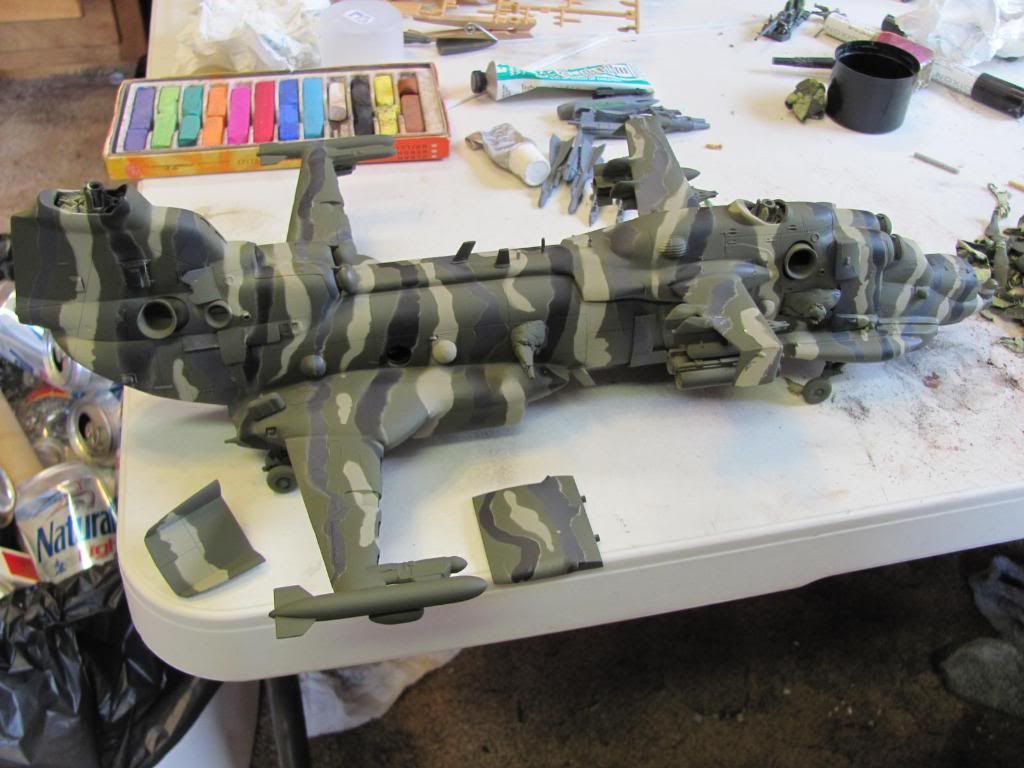
Posted: 2011-05-19 05:17pm
by sotoolslinger
Re: Get to the Choppah!
Posted: 2011-05-21 10:25am
by Elheru Aran
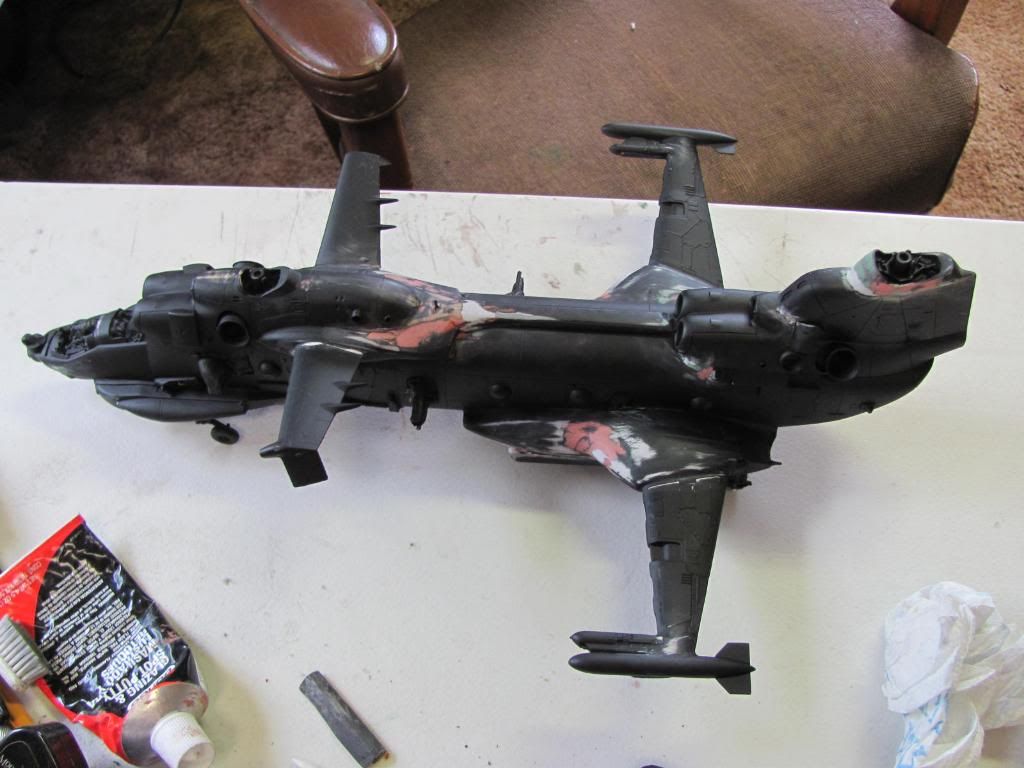
Be kind of hard to fly it with the pilot and gunner canopies completely covered with paint, won't it?

Otherwise it's a marvelous job, though. Would never guess that it hadn't been kitbashed together.
Get a better brand of beer and you're good

Re: Get to the Choppah!
Posted: 2011-05-22 12:02am
by sotoolslinger
Elheru Aran wrote:Be kind of hard to fly it with the pilot and gunner canopies completely covered with paint, won't it?
Otherwise it's a marvelous job, though. Would never guess that it hadn't been kitbashed together.
Get a better brand of beer and you're good
Hey that beer was the perfect kind... free
Re: Get to the Choppah!
Posted: 2011-06-03 02:51pm
by Eternal_Freedom
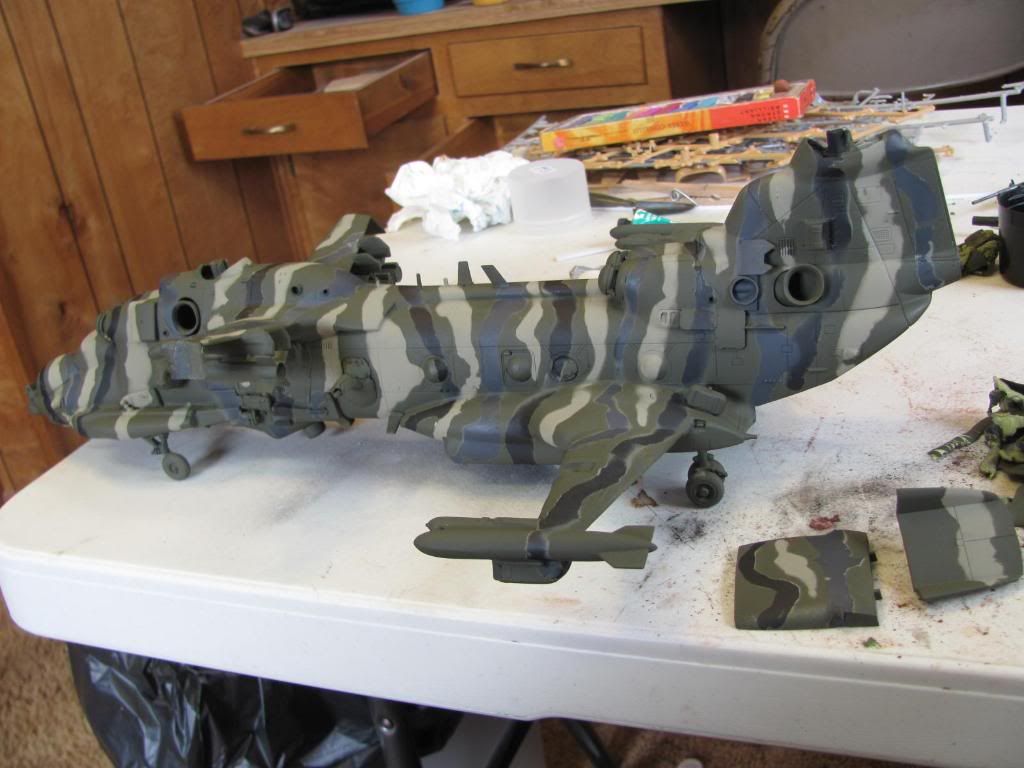
I know it's been a few days but I just want to say that this is an awesome model. A most impressive kitbash!
Re: Get to the Choppah!
Posted: 2011-06-04 04:36am
by Frank Hipper
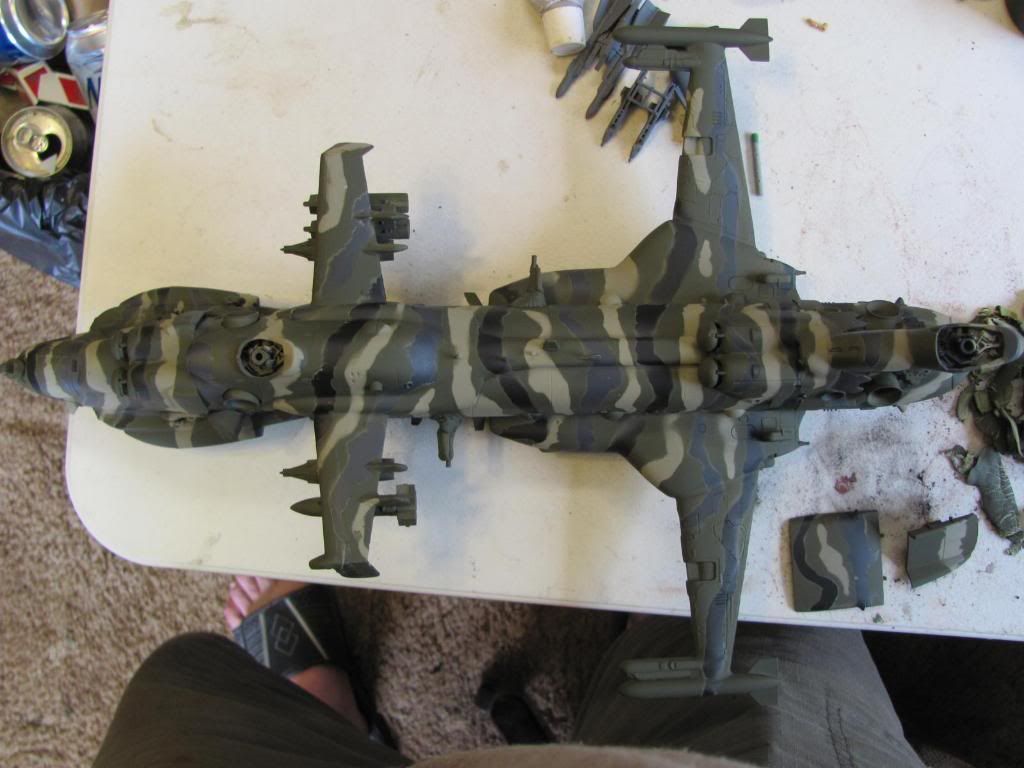
What kit are the aft wings from?
This is one fun build to follow, and I have got to say it looks quite sexy with the camo scheme applied.
Re: Get to the Choppah!
Posted: 2011-06-04 10:20am
by sotoolslinger
Thanks y'all . Those are B WINGS